7.6 Saving the screen
Touch [>] on the menu ring, and touch [Screen Shot].
![Touch [>] on the menu ring, and touch [Screen Shot].](../images/07/06_img_1.png)
![Touch [>] on the menu ring, and touch [Screen Shot].](../images/07/06_img_2.png)
![Touch [>] on the menu ring, and touch [Screen Shot].](../images/07/06_img_3.png)
The message “Screenshot was saved to the card.” appears, and a screenshot of the displayed screen is saved to the SD card as bitmap data. For details, refer to “File organization”.
| Storage folder | ¥Screenshot¥ |
|---|---|
| File name | XXXX_yyyyMMdd_hhmmss.bmp (Index)_(Date saved)_(Time saved).bmp |
| Extension | .bmp |
| Data capacity | Approx. 300 KB per file |
Checking the saved screens
Check the screen data saved on the SD card.
1Touch [Recall] on the [Menu] screen.
![Touch [Recall] on the [Menu] screen.](../images/07/06_img_4.png)
The [Recall] screen appears.
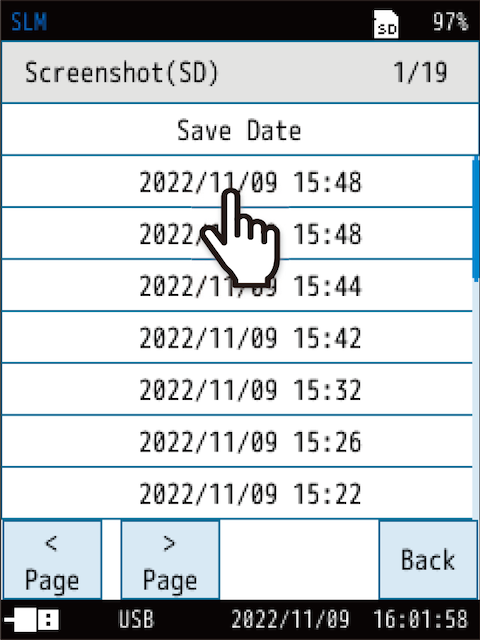
2On the [Recall] screen, touch [Screenshot (SD)].
![On the [Recall] screen, touch [Screenshot (SD)].](../images/07/06_img_5.png)
A list of saved screen data is displayed.
3Touch the data to read.
4Touch [View the data].
The saved screen appears. Touch the screen to return to 3.
![Touch [View the data].](../images/07/06_img_7.png)