7.4 Markers 
When the store mode is Auto or Timer Auto and the Lp Store Interval is set, you can mark the data.
The marker history is saved as stored data and can be recalled (“Loading the saved data”) or viewed from a computer as a CSV file(“How to import the data into a computer”)
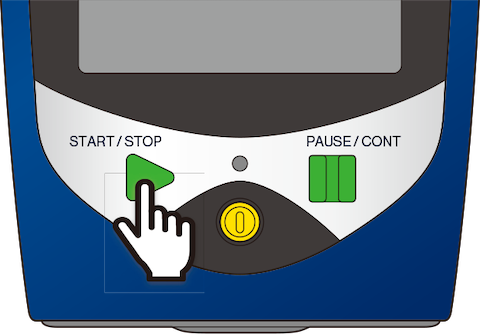
1Press the START/STOP key on the measurement screen to start measurement.
2On the menu ring, touch [>] during measuring to display [Marker 1], [Marker 2], [Marker 3], and [Marker 4].
![On the menu ring, touch [>] during measuring to display [Marker 1], [Marker 2], [Marker 3], and [Marker 4].](../images/07/04_img_2.png)
![Touch [Marker 1], [Marker 2], [Marker 3], or [Marker 4] to mark with the corresponding color. To delete a marker, touch the corresponding marker in the menu ring.](../images/07/04_img_3.png)
Touch [Marker 1], [Marker 2], [Marker 3], or [Marker 4] to mark with the corresponding color.
To delete a marker, touch the corresponding marker in the menu ring.
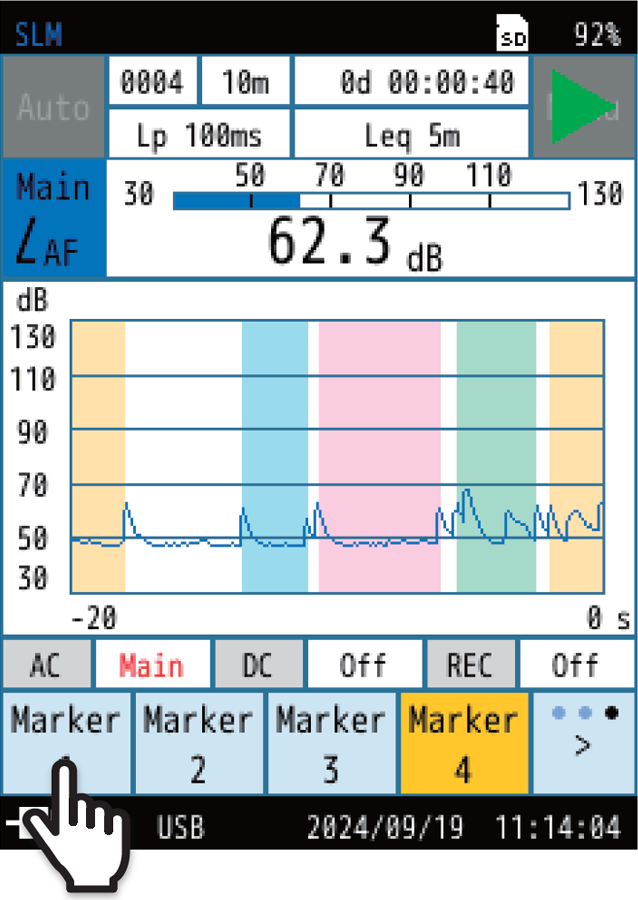
On the [Time-Level] screen, you can operate the markers while checking the marker history. The marker history can be checked both during and after measurement.